Let’s say you have a folder with a bunch of images in a png or jpg format and you want to automatically convert these files to WebP whenever there’s a new image dropped into the folder.
Here is a solution how you can do that with Hazel and a little CLI tool called cwebp.
Hazel is a great utility tool for your Mac which keep an eye out for changes in your folders. Depending on the criteria you set up for the folder you can then take actions on that.
cwebp is a command line interface that lets you convert images from png, jpg, etc. to a WebP format with a drastically reduced file size.
#Set up cwebp
First we’re going to install cwebp and we’re going to do it via Homebrew:
brew install webpIf you don’t have Homebrew installed you can find instrutions how to install it here.
When you have installed cwebp you can use it in your terminal by the following command:
cwebp image.jpg -o image.webpNow we have a simple way of converting an image directly from our terminal. This is pretty powerful but we want to make this thing automatic so let’s prepare a script that we can use in Hazel:
# Set the input and output paths
input_file="$1"
output_file="${input_file%.*}.webp"

# Convert the image to WebP format
cwebp "$input_file" -o "$output_file"
This script takes the input file that Hazel has detected and converts it to WebP.
#Set up the monitoring folder with Hazel
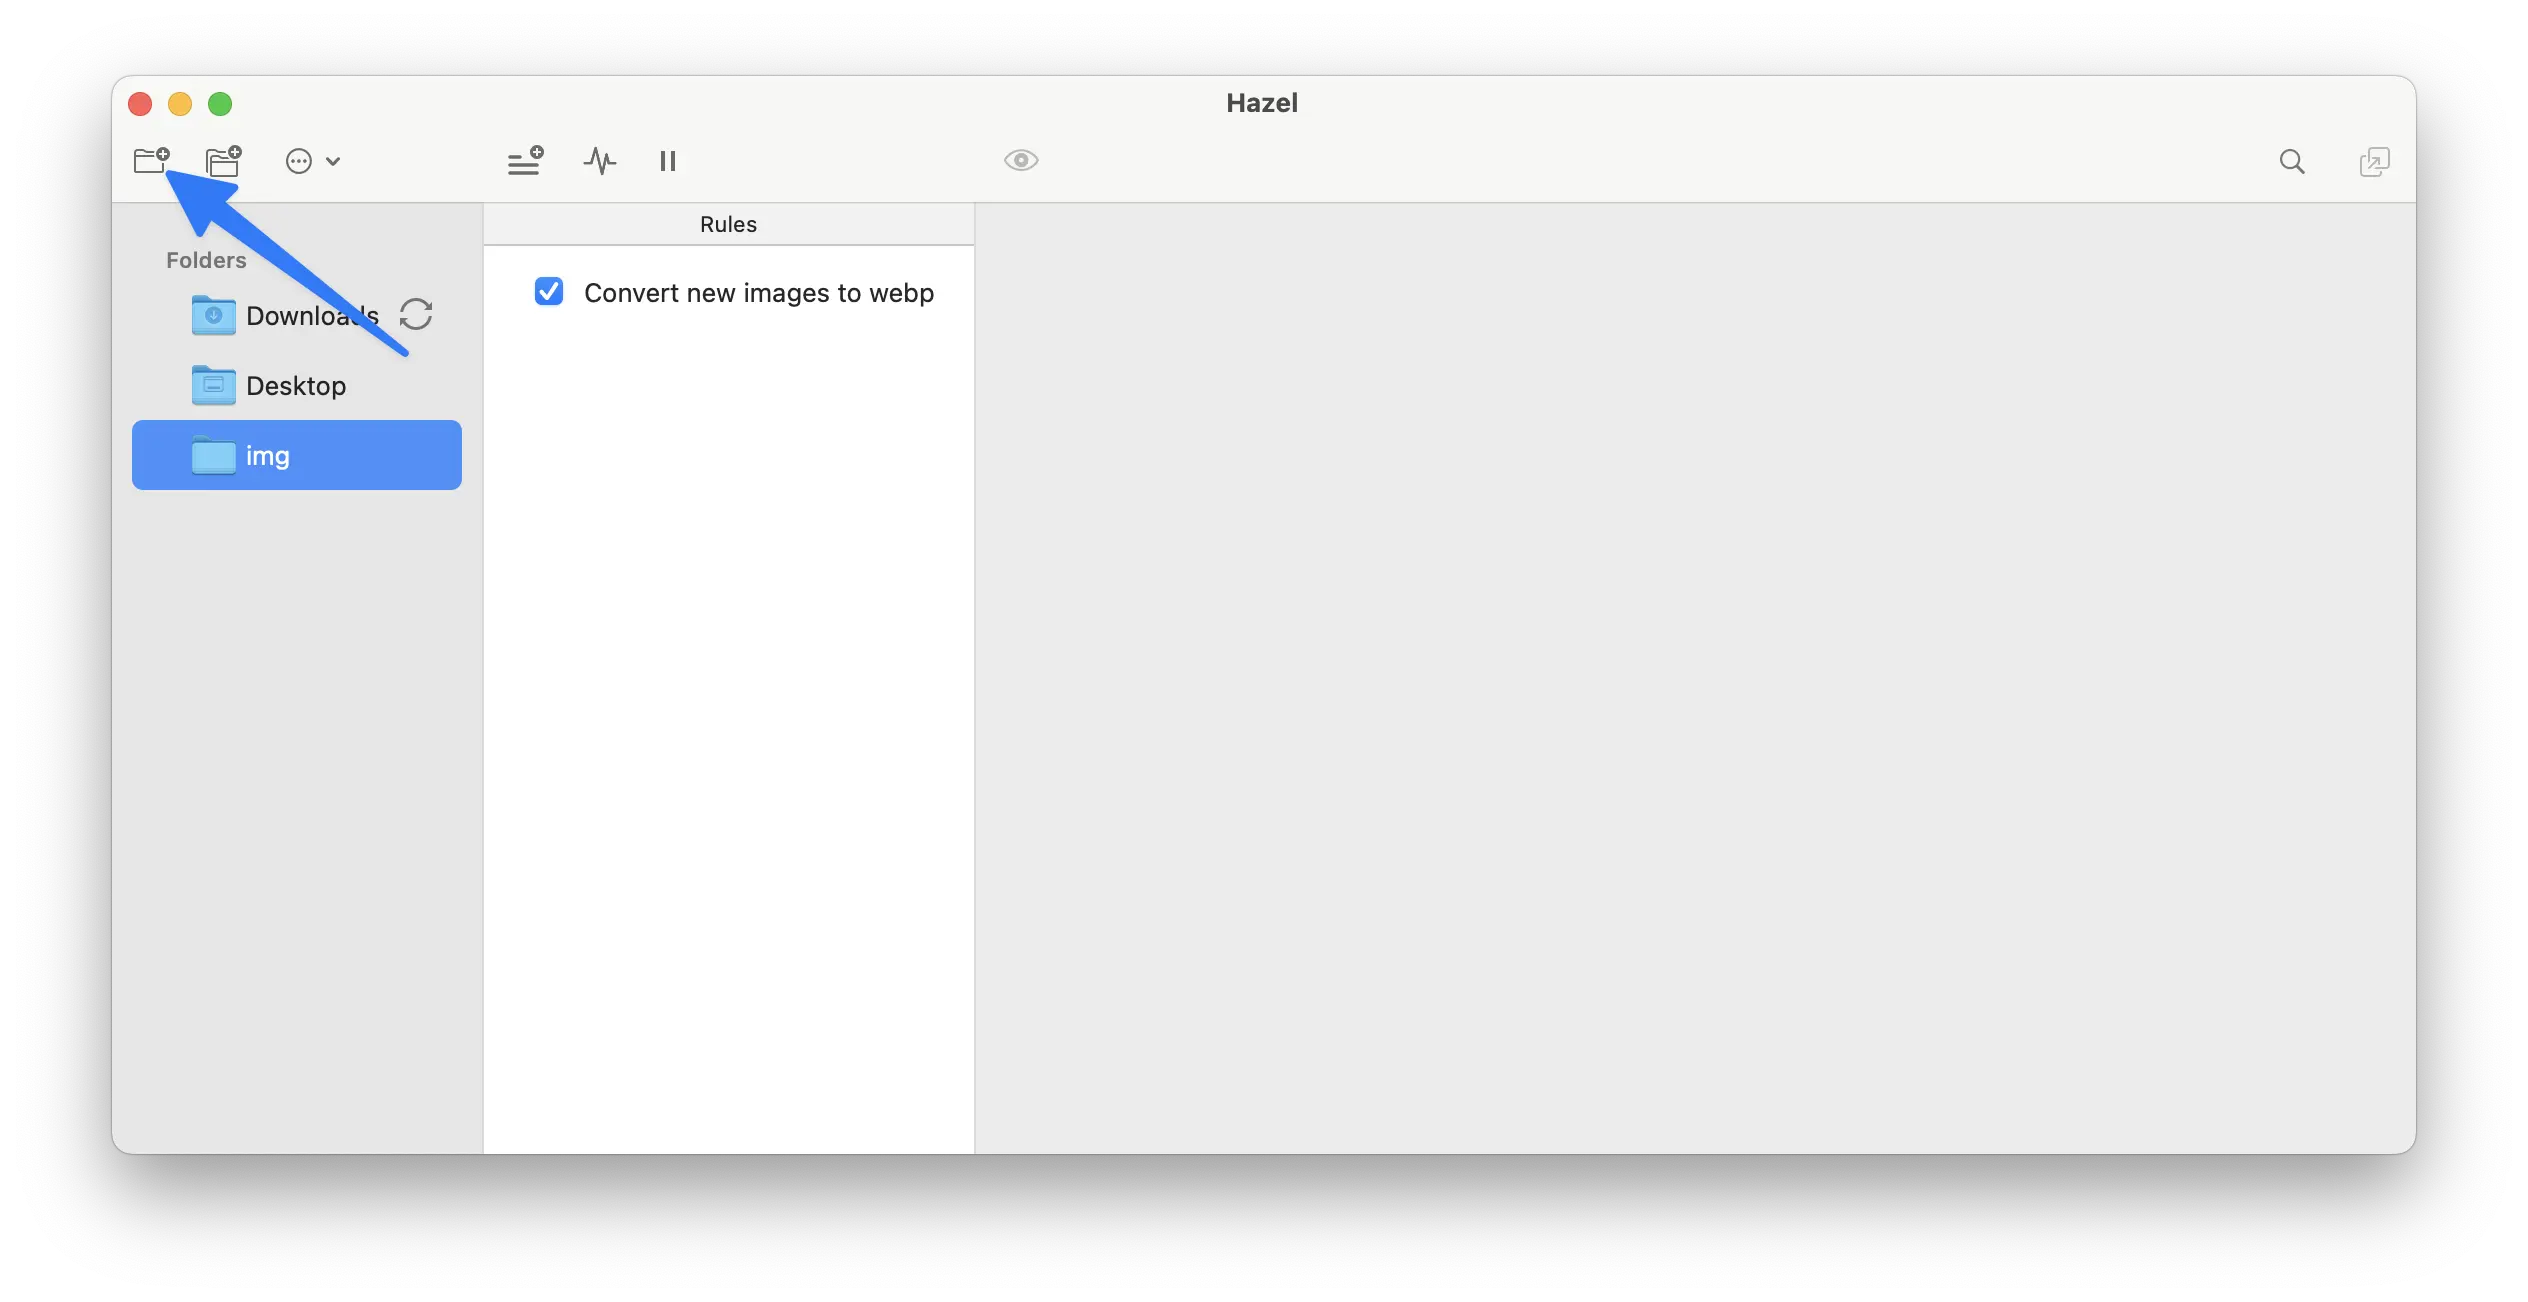
1. If you don’t have Hazel installed go ahead and download it here. Open up Hazel and add the folder that you want to monitor. In my case it’s the img folder below.
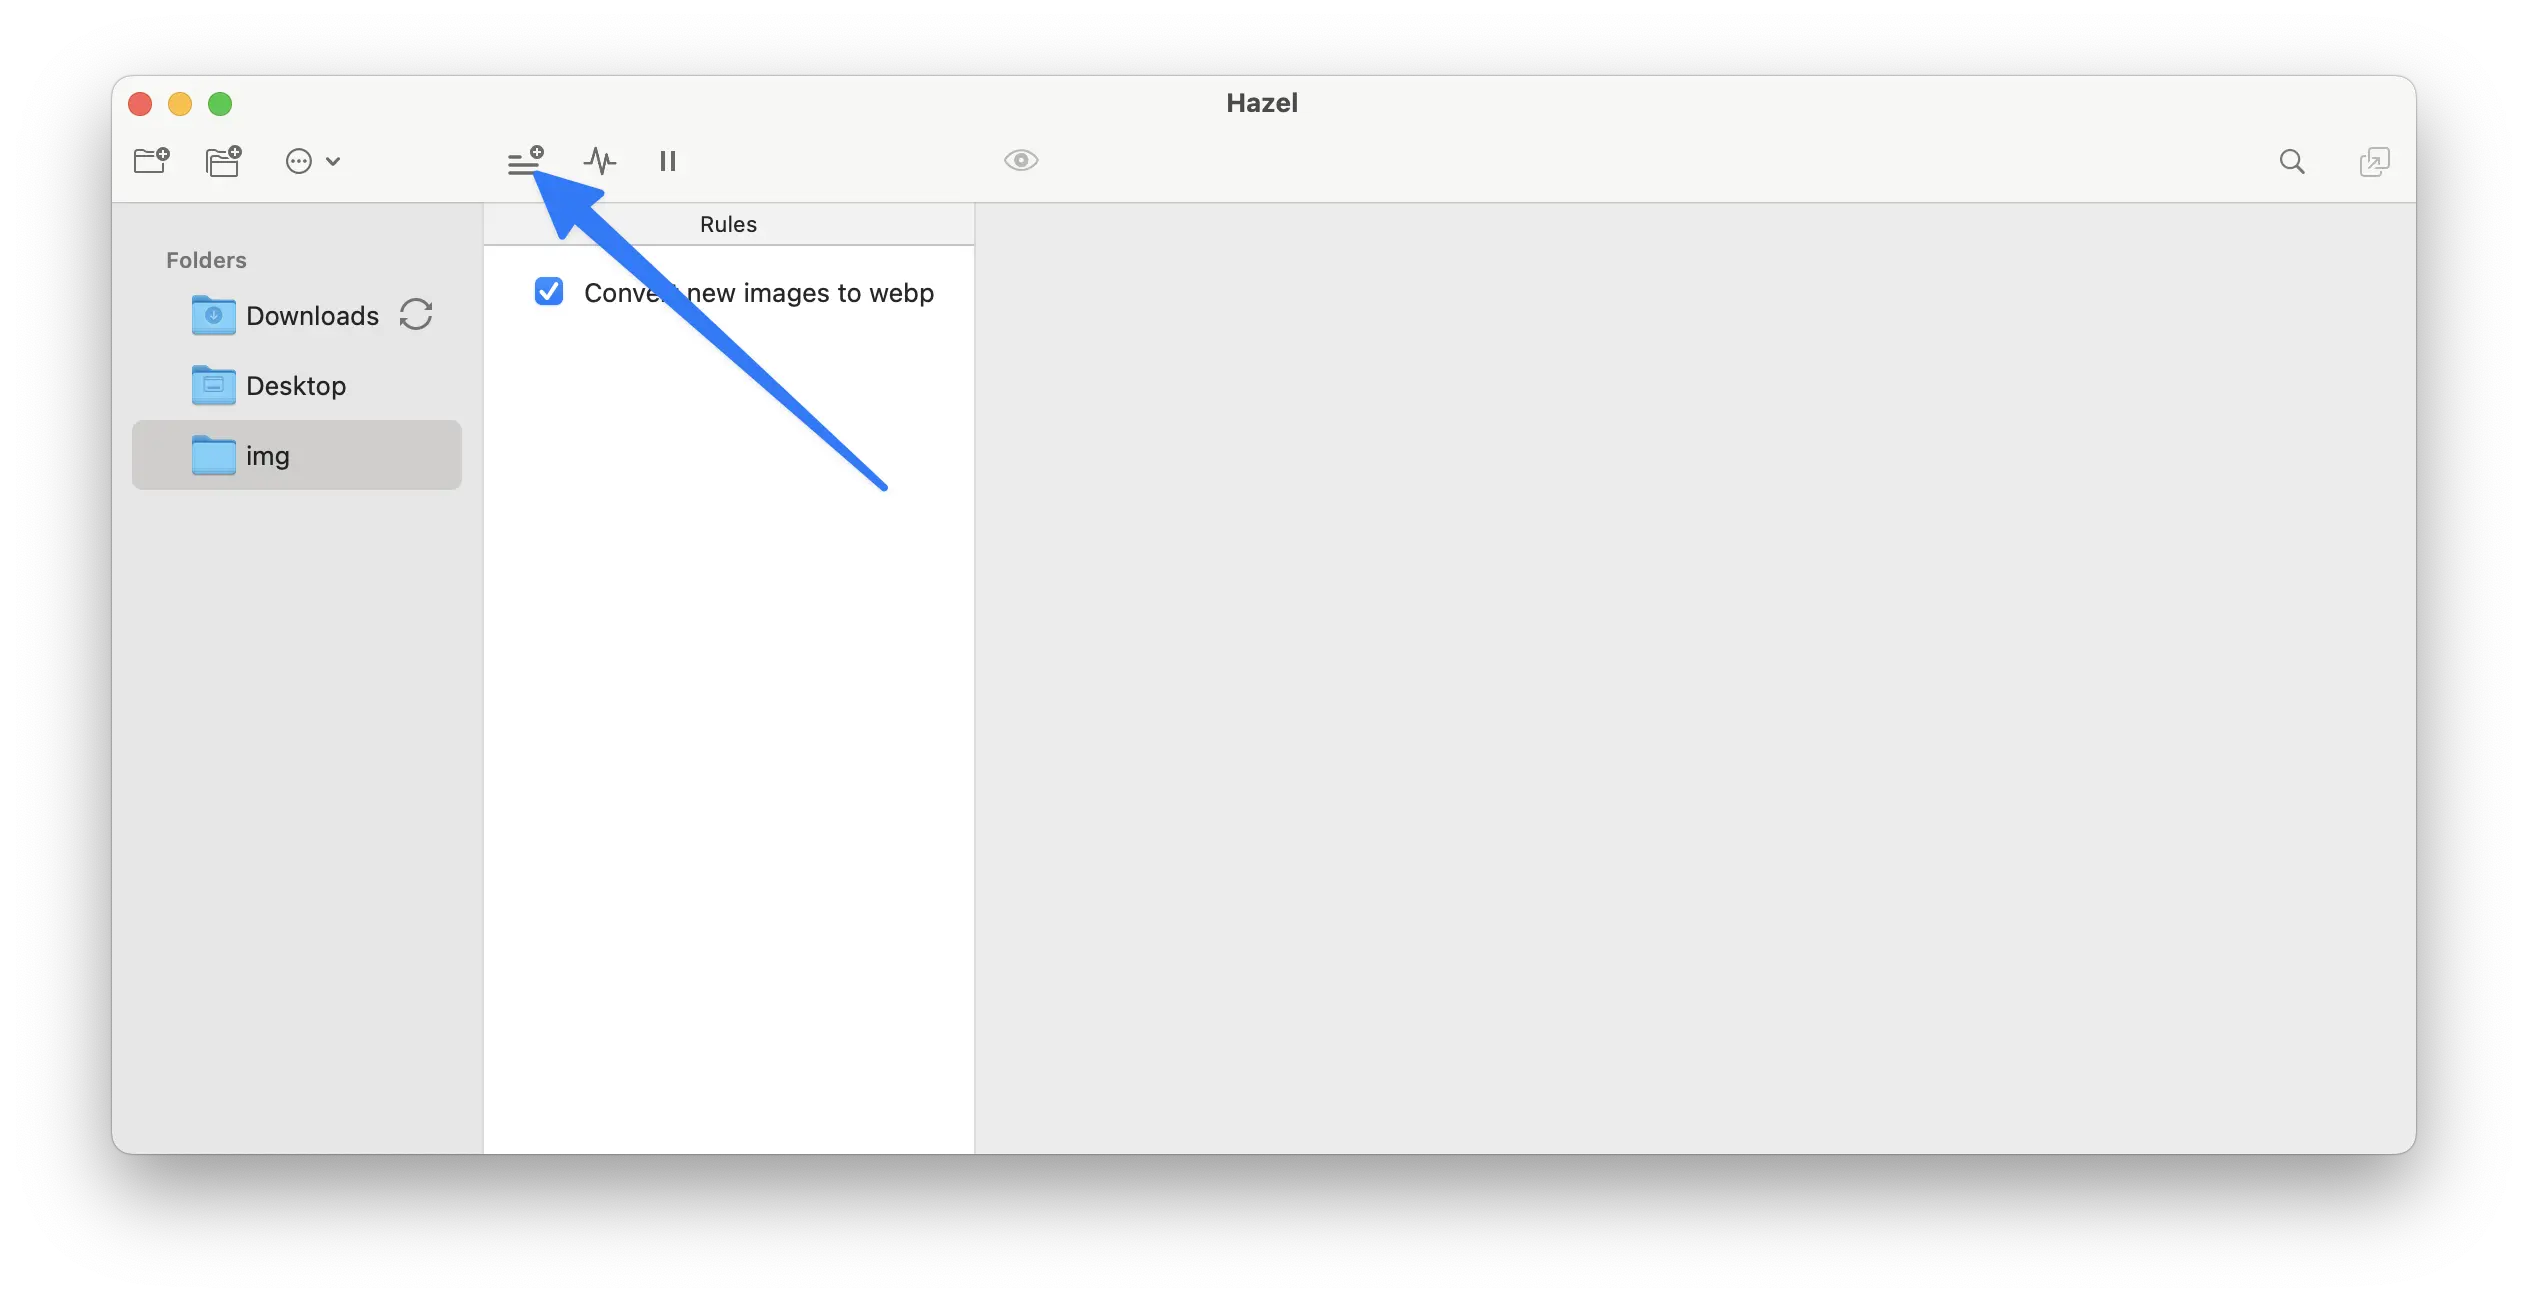
2. Go ahead and create a new rule and name it anything you want. I call mine “Convert new images to webp”.
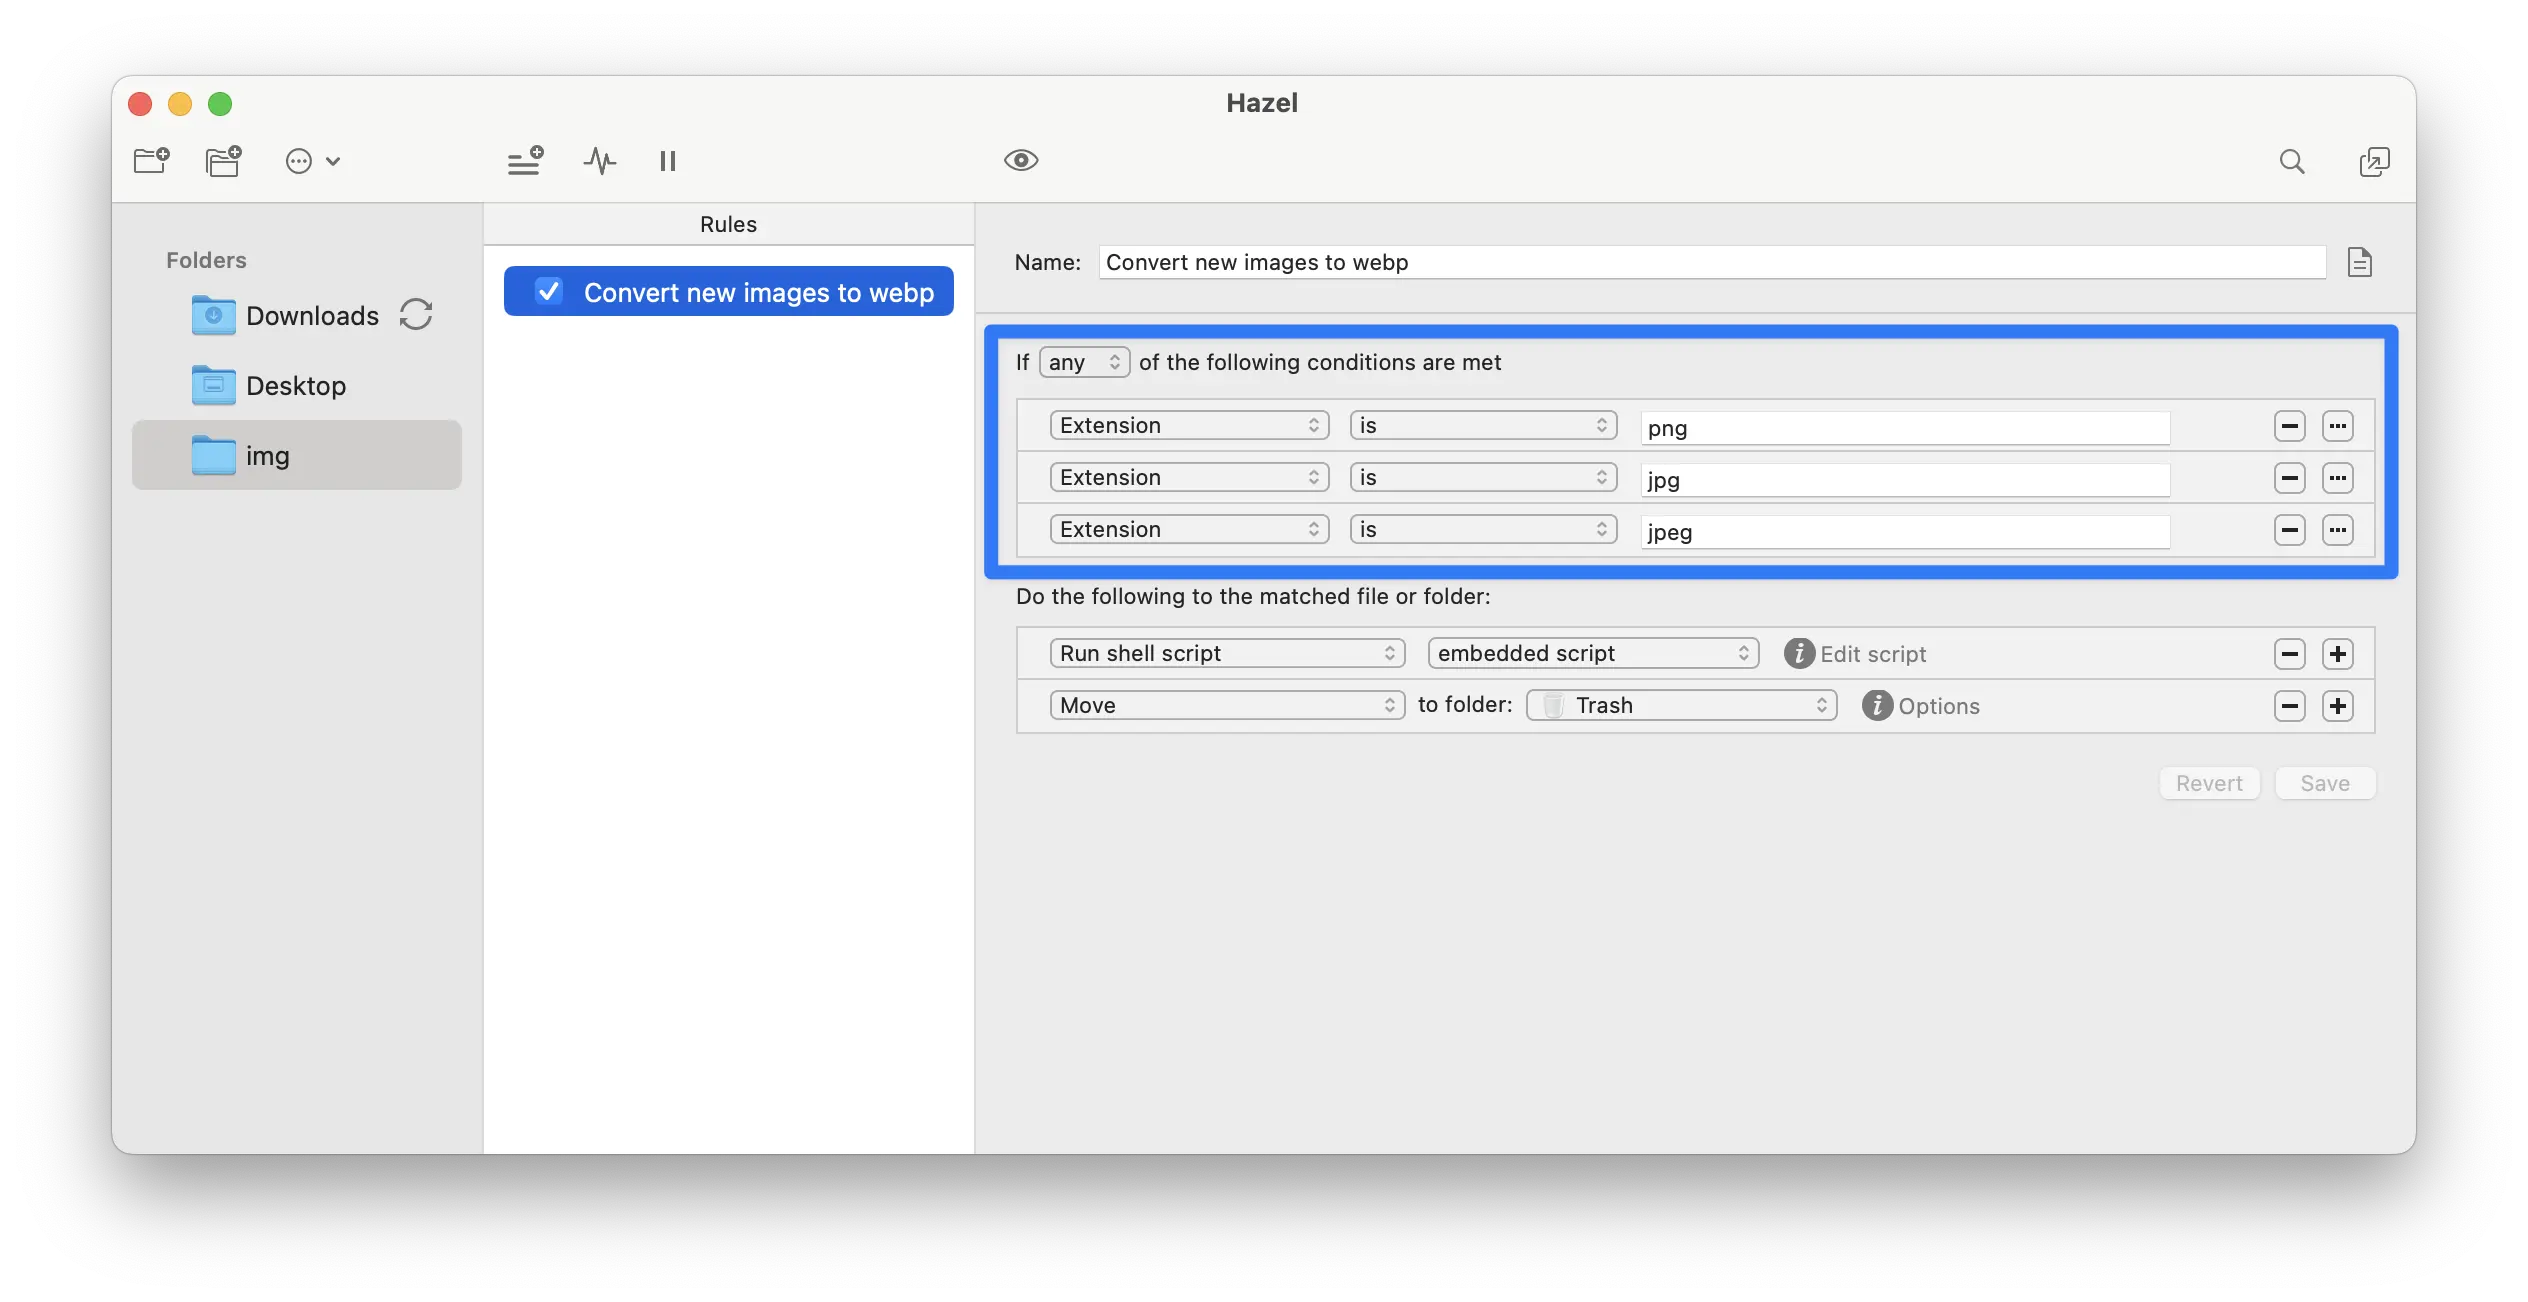
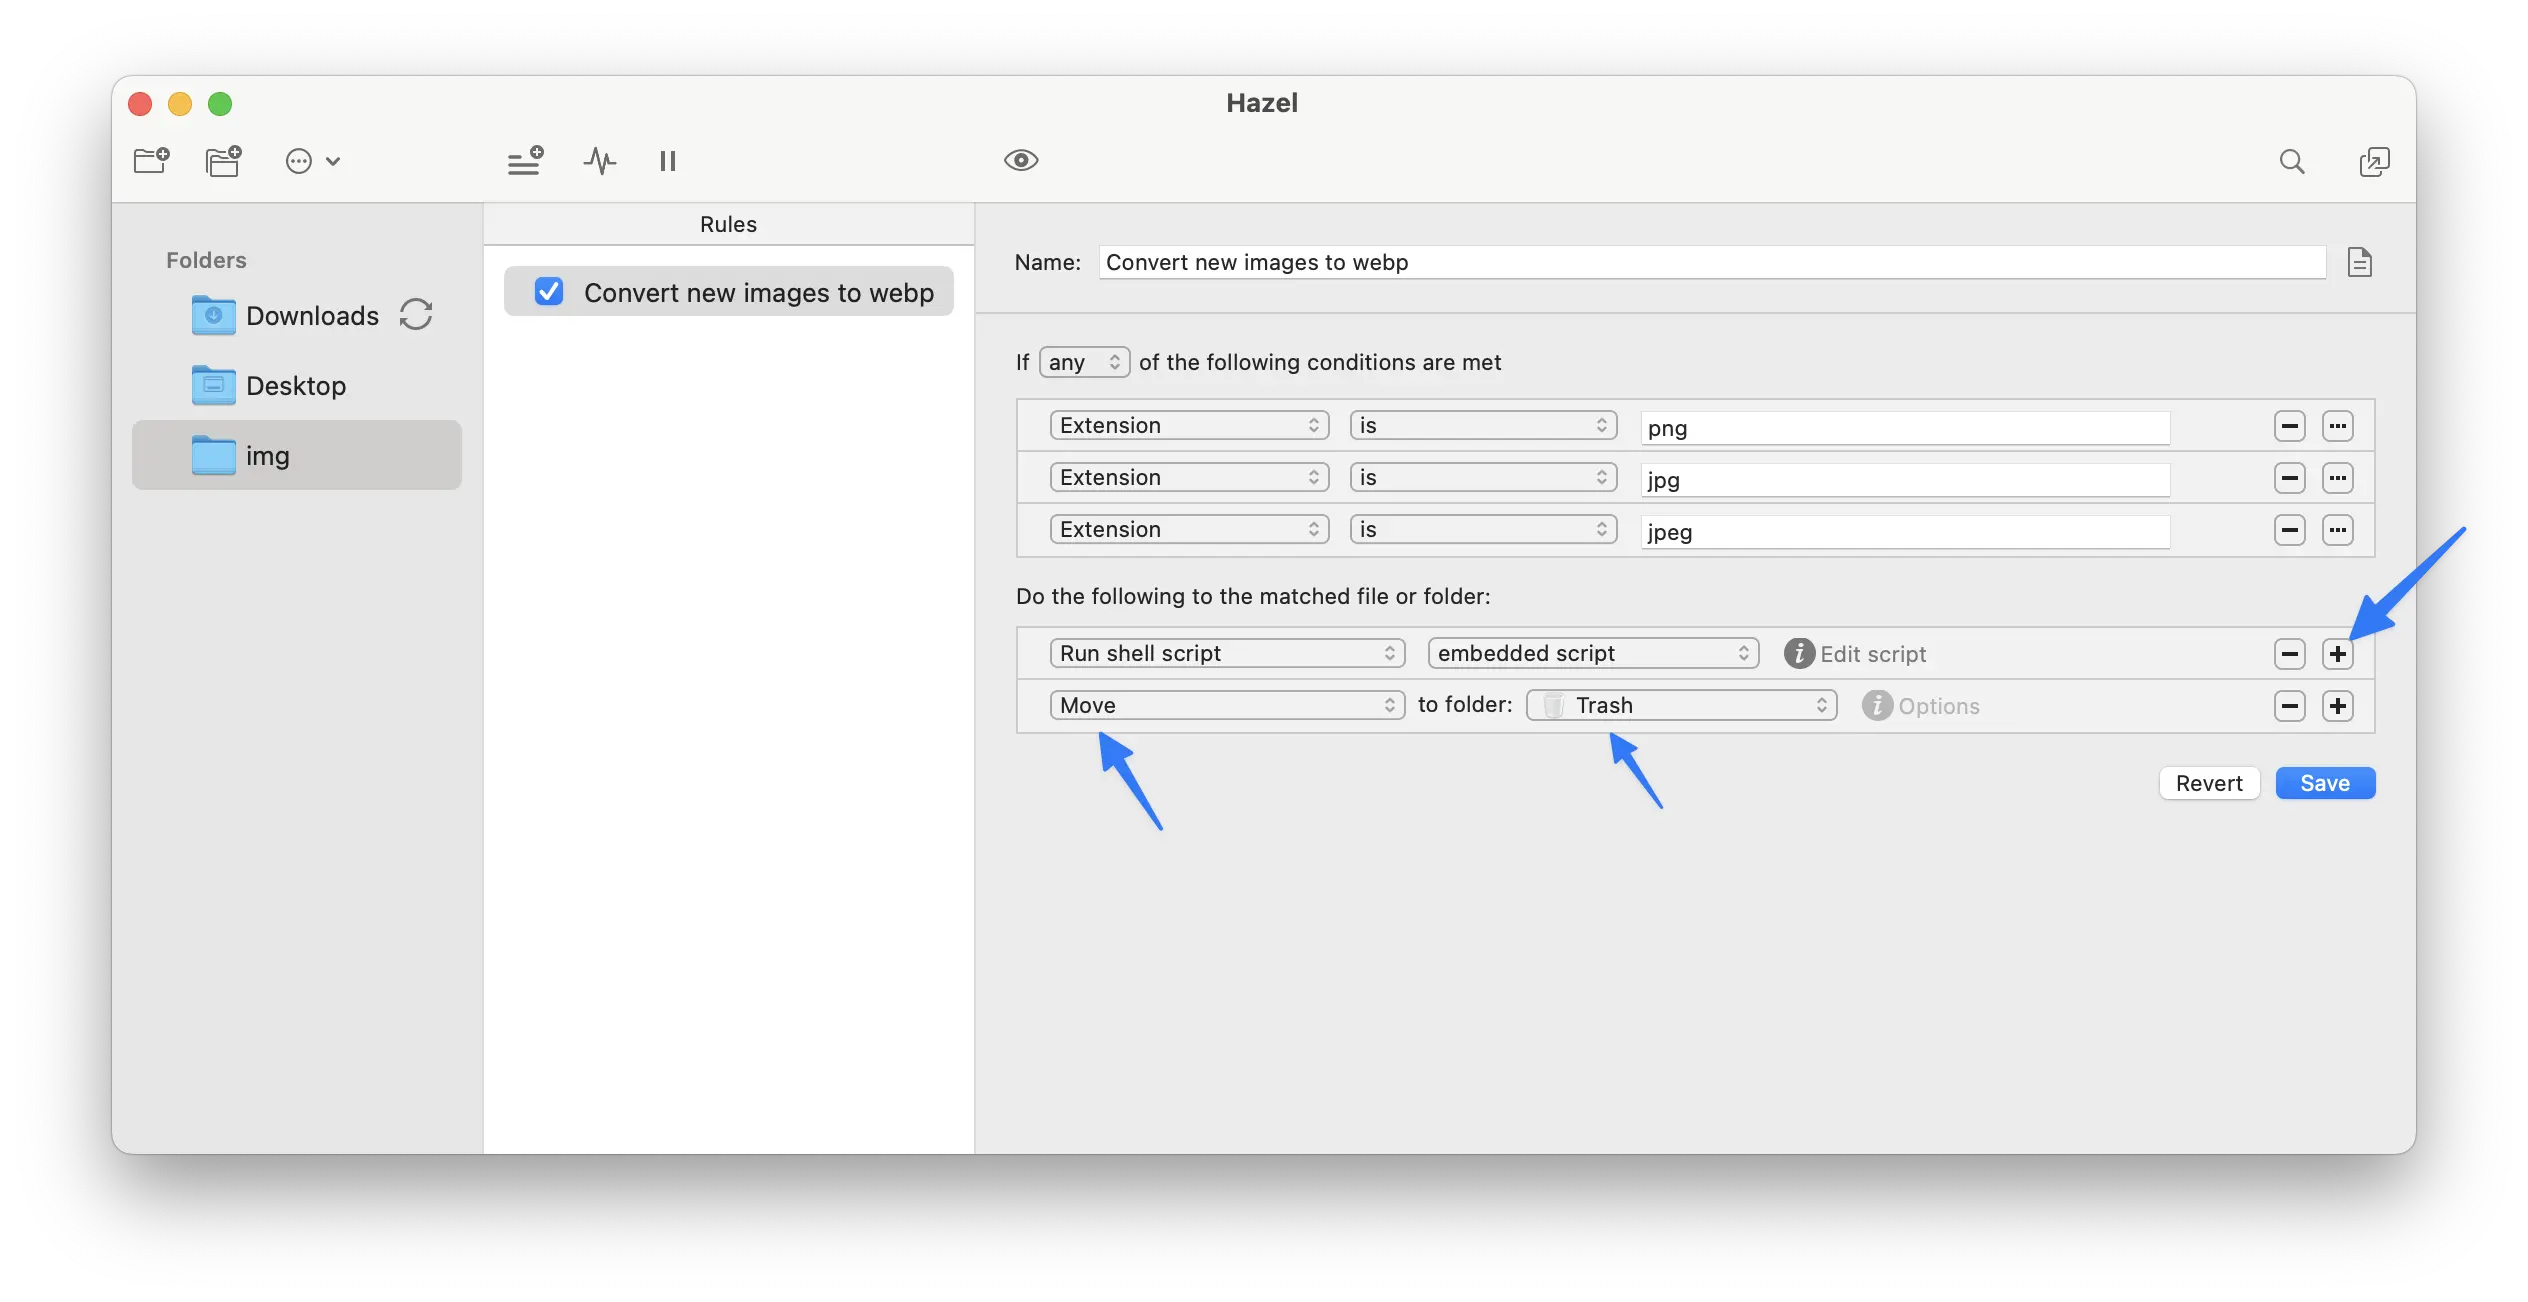
3. Next we want to add the condition for the folder to monitor. I want any file with an extension of png, jpg, or jpeg to match.
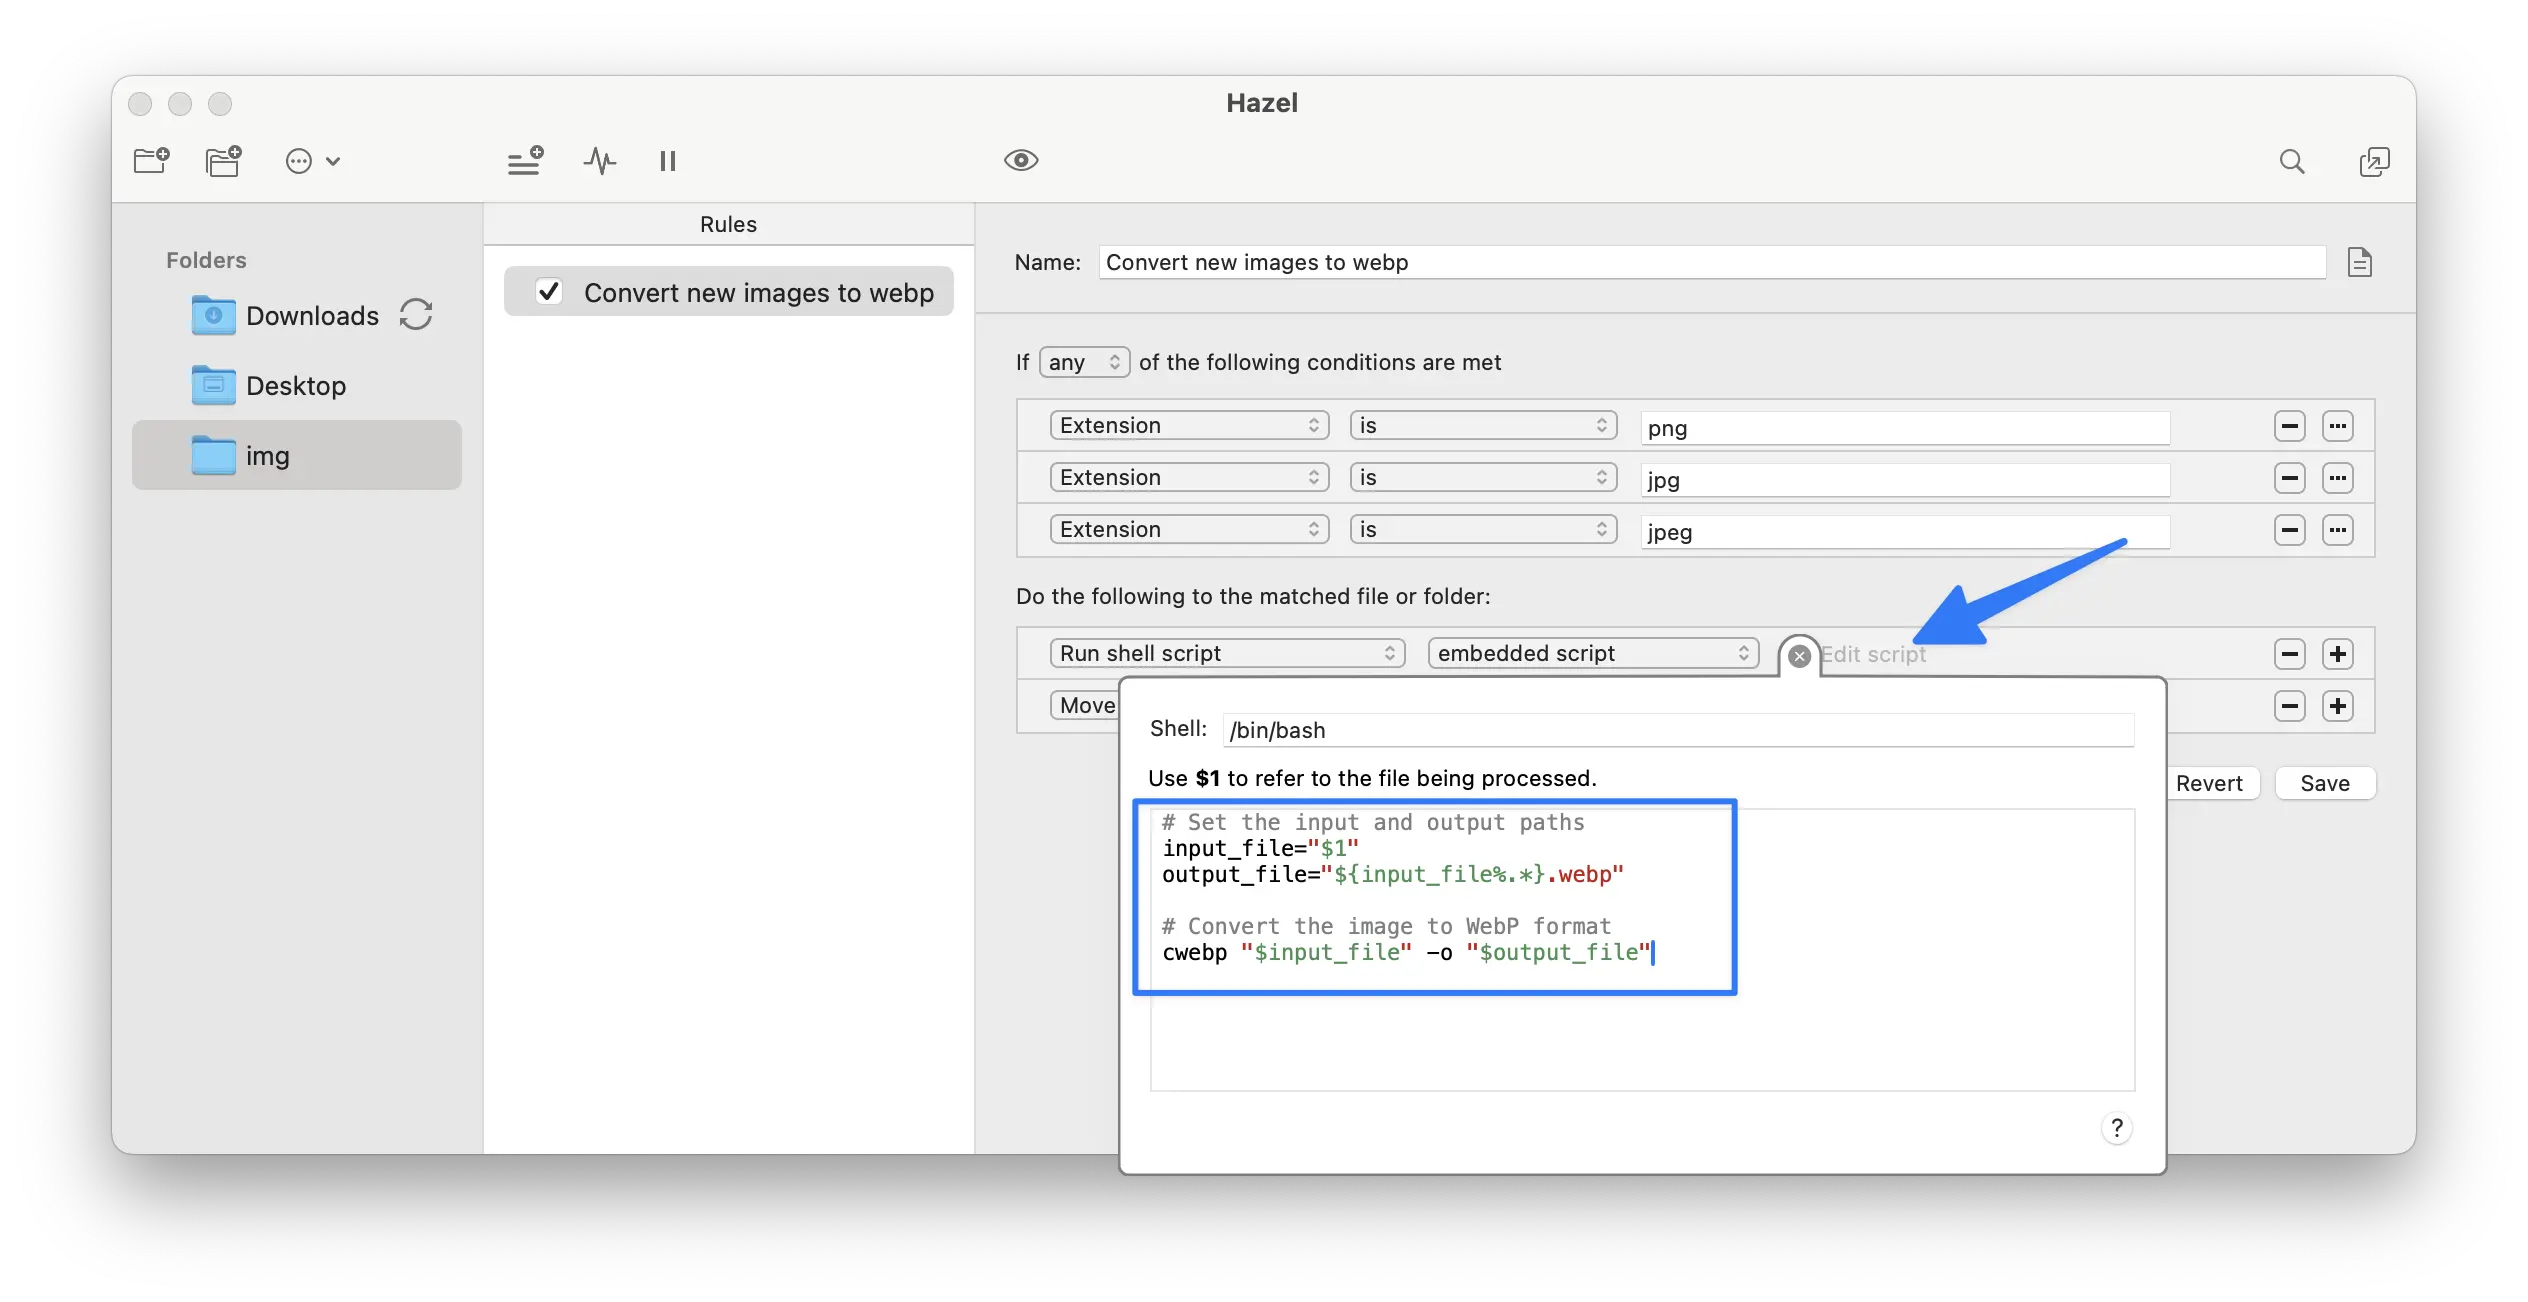
4. Then we want to go ahead and add an action that’s going to happen when a file matches. We select “Run shell script” and we will use an embedded script. This will be the script we prepared earlier.
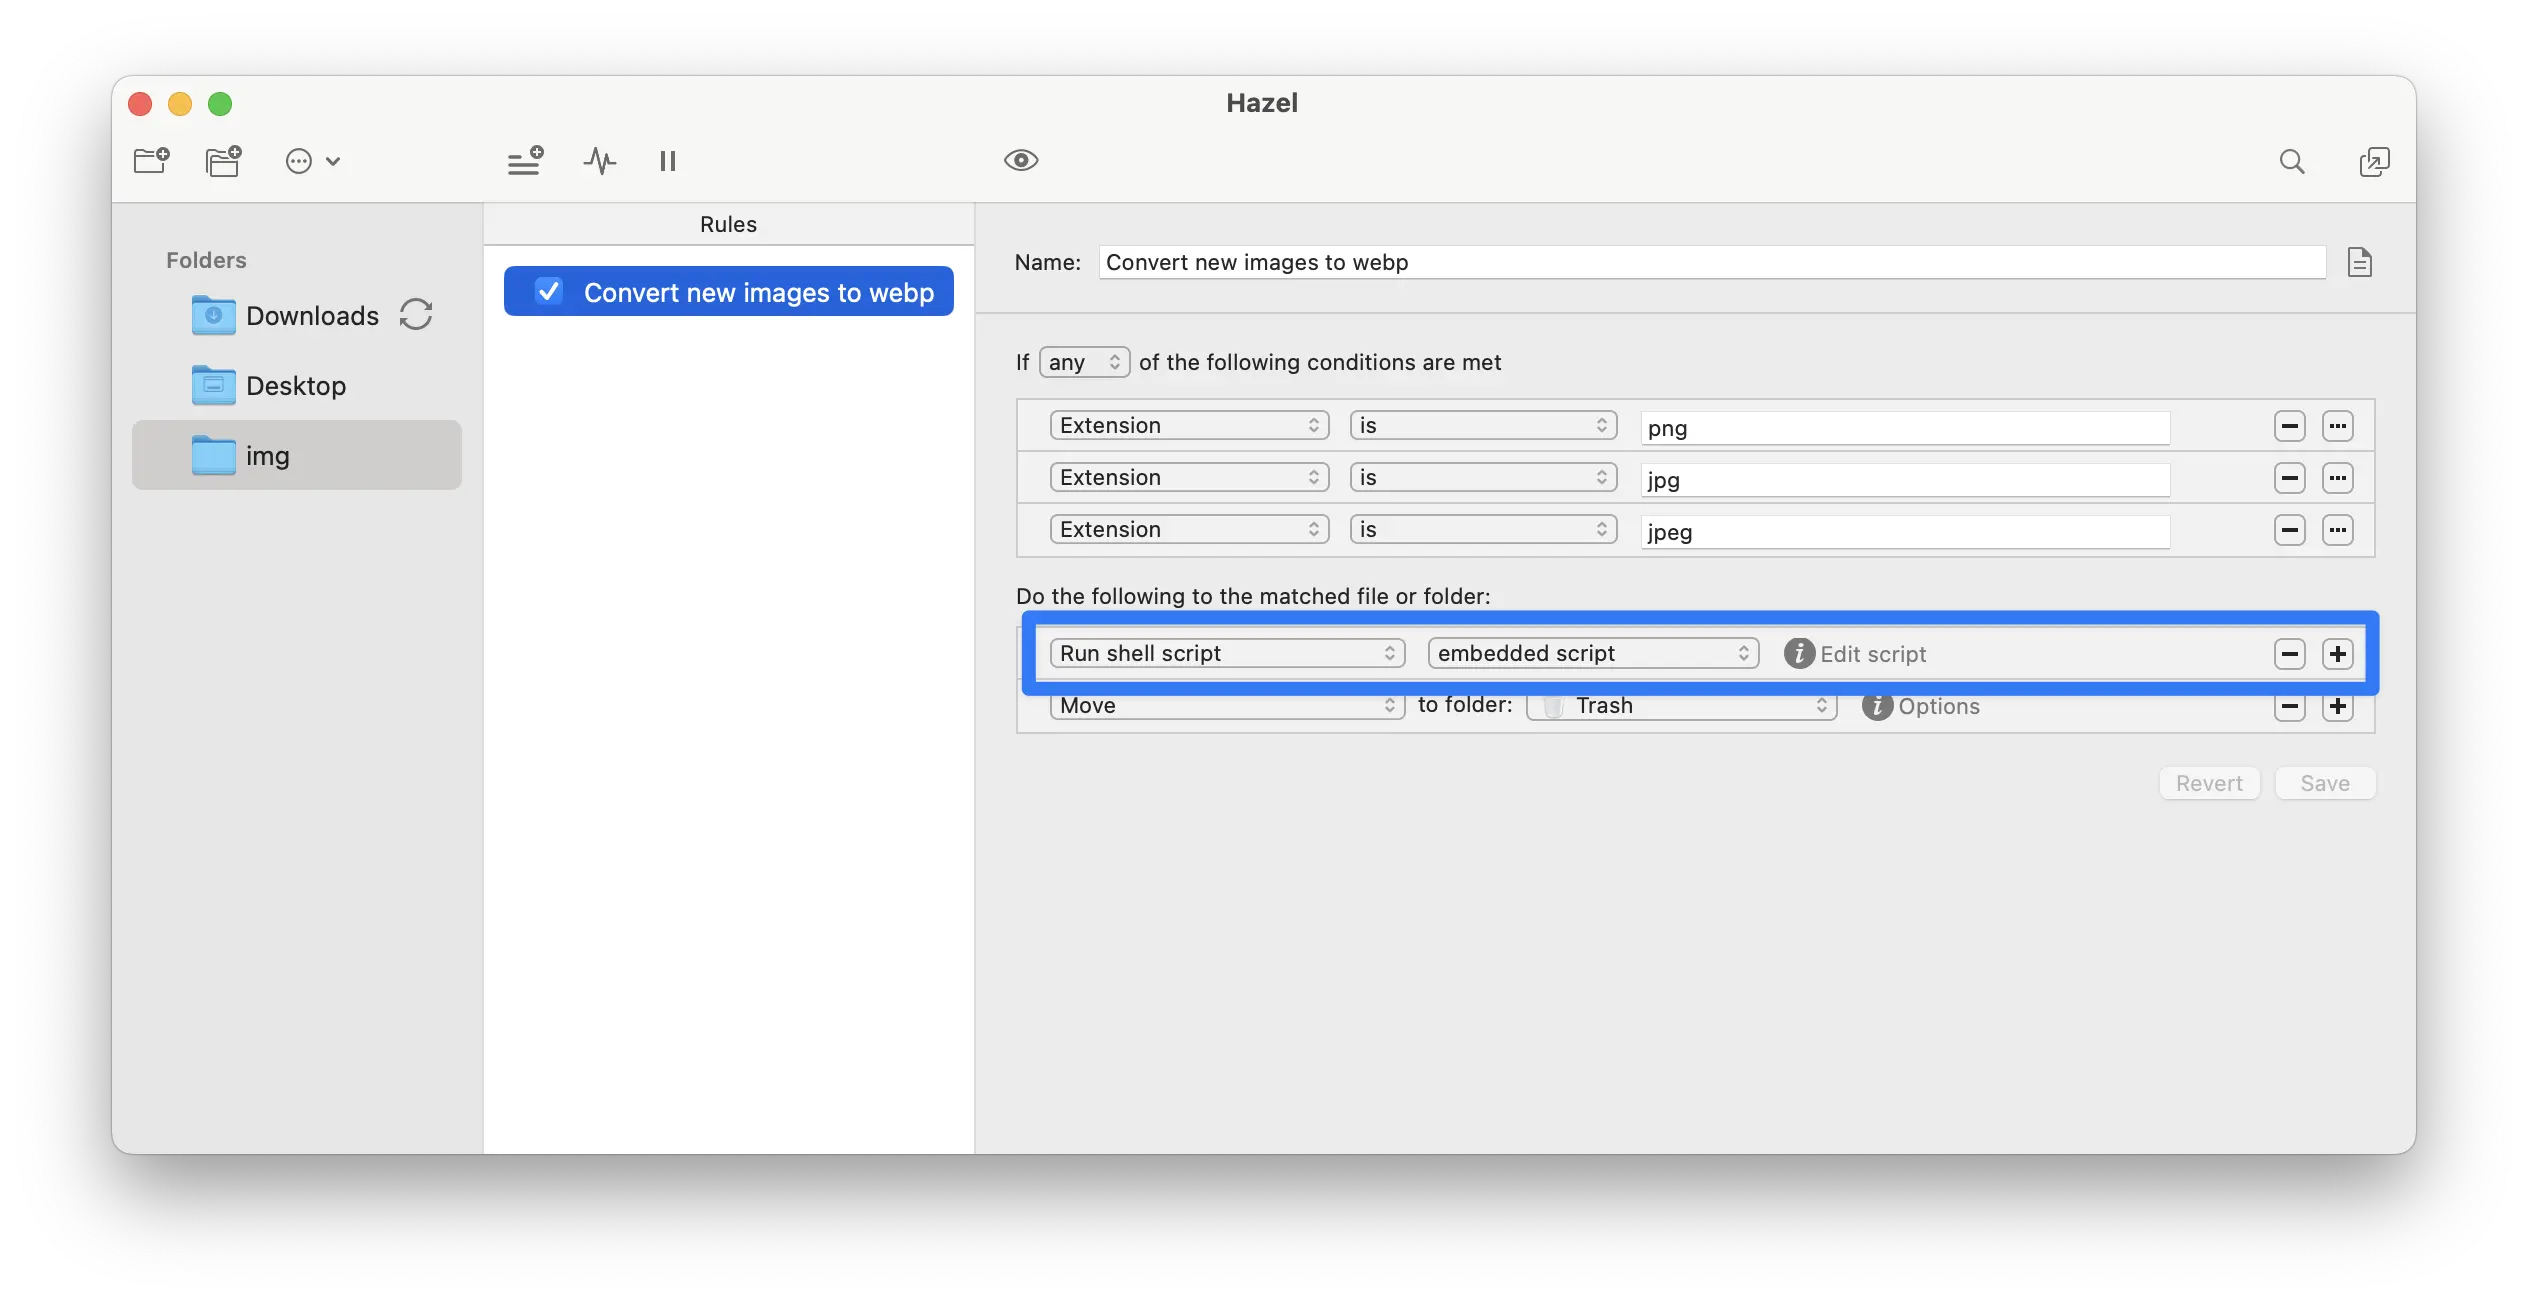
5. Click “Edit script” and go ahead and paste the script in the prompt.
6. Finally we want to delete the original file once the conversion is done. So we add another action that will “Move” the file to the Trash.
Now we have an automatic way of converting images to WebP as soon as they’re dropped into our folder.